
Some of us have been discussing using tables in the blog to show off more photos and since blogger is a moody beast and we can't bold or italicize in our private group, a blog post is in order.
When adding a table to blogger, work in the html tab.
A basic table with two rows and two columns would look like this in html code:

So now for some plain English - the blue is my comments. I will leave off the <> symbols so the text will appear:
table Signifies the beginning of a table
tbody Denote the body of the table... as opposed to a header
tr = Table Row
td /td = beginning and end of the first table cell. We place the info in the table cells. / always signifies the end of something.
td /td /tr Another cell and the end of the first row.
tr New table row.
td /td Table Cell
td /td /tr Table Cell & End of 2nd row. End of the Table Body./span>
/table End of Table.
So all info gets placed between a td and a /td and all commands are placed inside a <>.
In a simple world, this would all be well and good... but blogger is NOT a simple world. First of all, our Fire Divas blog is base on three columns and we can't have a table wider than our blog content. Since our content takes up 50% of the page, we have to tell the table how wide to be:

So in theory, you could just start plugging photos into all the sections and on the next table row you could write about the photos on the row above. Only... this is blogger and it goes all akimbo and...another downside is you can't really work on the Compose page and see what you are doing.
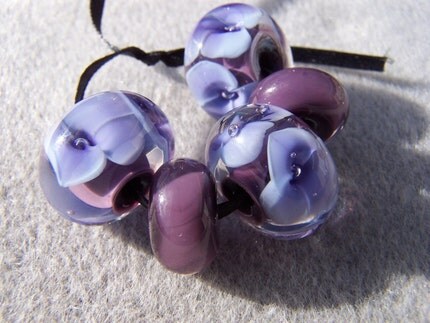
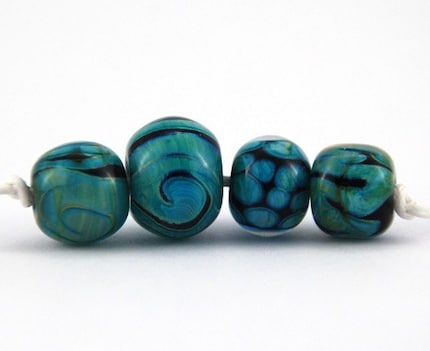
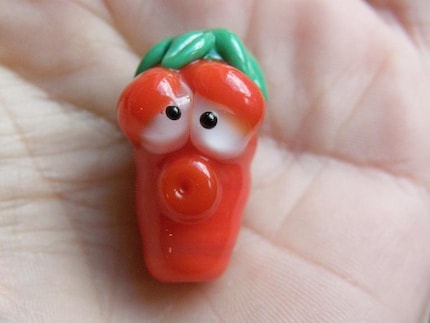 Ankle Biter's Kay Rot Ankle Biter's Kay Rot | 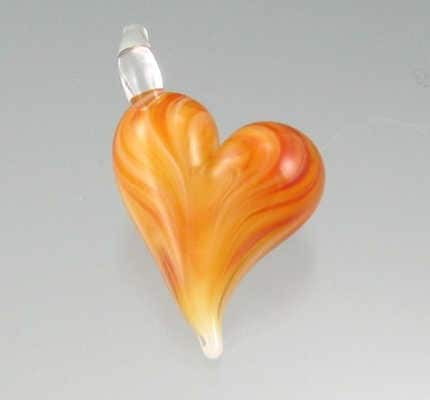 Gia Pet's Boro Heart Gia Pet's Boro Heart |
So to fix the problem of seeing where you are working, we add a border each cell. See first line of code... Table border = "1"

This is what the table in the compose window of blogger looks like;

You can see the table cells where you are working! You still have the good part of working in blogger. To add a photo, click the photo icon, paste your image location from Etsy / AF / 1KM into the right side of the uploader. Click upload and the image is at the top of the page. Click on the image. Edit /cut and go to the table cell and paste it. To fix the alignment issue, hit enter and begin typing. Then hold the shift key down, click on your photo and drag the corner in to make the picture smaller. Your work window will look like this:

From this point, it's just like working in happy blogger. Highlight the text and paste in the link. Center the photos and text, etc.
And the final table will look like this:
 | |
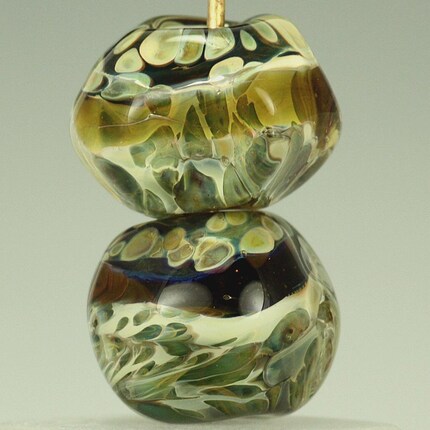
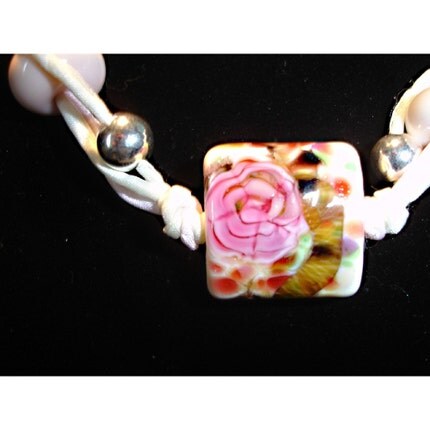
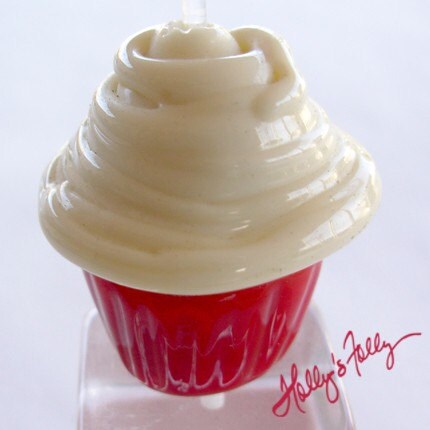
 Janel Dudley's Set Janel Dudley's Set | 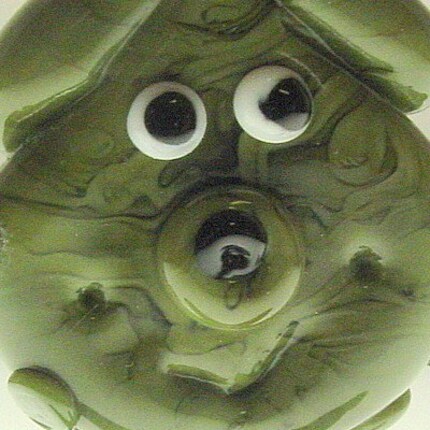 Teasebead's Alien Pet Teasebead's Alien Pet |
By using table cells that you can see, it's much easier to work in the blogger compose window and most importantly, you can show off MORE BEADS!!!


No comments:
Post a Comment