
This is the photo we're going to be watermarking. It already has a signature.

Tools Palette: The tools we'll be using are: (not in order)Move Tool, Eraser, the Type Tool, Colors Palette. The tools palette appears along the left edge of your screen.

Type your text: Chose the capital T on the tools palette (left side of screen) and click onto your photo. Type your text.If you want a color, highlight and click on the colors palette... the box on top. This allows you to choose from a palette.

NOW, here's where you have to make some choices!
- What size should it be?
- Do you want your watermark to be solid or transparent, so your item shows through? If you sell on eBay, your listings can get pulled for doing this... BE AWARE!
- What direction do you want / need your text to appear?
- Do you want it on top or behind your item?
- Select a clean large font and font size before you type OR
- After you type, make sure your text layer is active in your layers palette and click CTRL and the letter T (Edit Menu / Free Transform). Click and drag. Drag top / bottom to make it taller. Drag either side for wider. Drag corners both! TIP: Hold your shift key while dragging on the corner to keep it proportional!
Solid vs. Transparent: Solid makes a statement but again some selling venues are disallowing this... the thought being that the buyer could say they didn't see the WHOLE item because it was covered. But if you want solid, you are done!
For Transparent Watermarks: Make sure you have your type selected in your layers palette (horizontal arrow). Just above your layers, you should see the word "opacity" and "100%" further to the right (DOWN arrow below). Click the arrow by the 100% and slide it back to a lower number... Here, mine is on 25%... See how the type is allowing the background of the bead to show?
Text Direction: Let's say you need your text to be vertical. You can make text appear many ways in Photoshop bu let's not get too complicated here. For vertical, again, make sure your text layer is active in your layers palette and click CTRL and the letter T (Edit Menu / Free Transform).
A box appears around your text and you can turn it, using your move tool, to face another direction. You can invert it by dragging one end across the other! Once you are happy, hit enter. Use that move to to place it exactly where you want it.


Open the photo you want to watermark. In the layers palette (lower right), drag the layer over the new layer (paper) symbol to create a new background.
Alternate method: Layer Menu / New / New layer from Background.


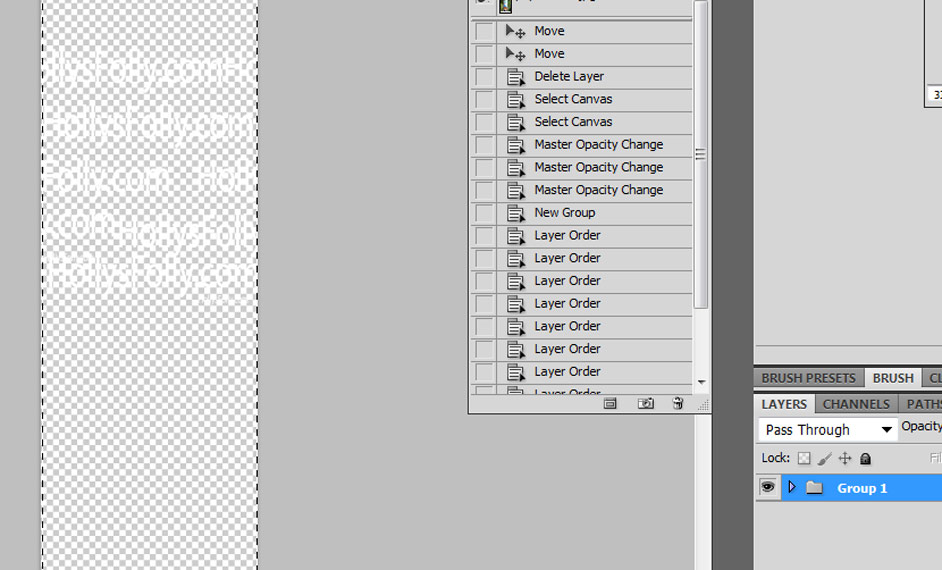
This is a pain to do every time but... you can SAVE YOUR TEXT LAYERS! Just delete the image layers and keep all the text. Create a group for all the layers by clicking on the file folder at the bottom of the layers palette. Drag every text layer into that group.
From the photoshop file with the saved text. Make sure the group layer is selected in the layers palette. From the top menus, select Edit / Copy Merged.
Now, open another image you want to watermark. Paste the text. Mine is a bit big and messy:


Now, it's still too opaque and on top of my bead.
I hit the opacity slider in the layers palette. This one is 21%. And I make a copy of the background layer and put this new layer on top. Use the eraser to erase the edges of the top layer. (TIP: You can also use the Magic Wand Tool to select and remove the background.)

By saving your test file as a PSD (not as a jpeg...this flattens and creates a background, making your text invisible!) you can save yourself lots of time. If your products have several different shapes as mine do, you may need to create 3 or 4 of these in the beginning but a little set up can save loads of time later!
Final image:

I write tutorials on a variety of subjects from beading to web marketing. As a struggling artist, I appreciate your support to keep these tutorials going!
| My glass beads and tools | Paypal | My Starbucks account. Click the link and enter my card # 6044305060554270
|


No comments:
Post a Comment